Please Note
If you replace, break, or lose your only mobile device set up with Okta Verify your MFA will need to be reset by Service Desk staff. Please expect MFA reset requests to require careful confirmation of your identity. We highly recommend setting up a second device with Okta Verify before losing access to the first device if possible.
Downloading the Okta Verify app
-
Using your mobile device, search for “Okta Verify” in your preferred app store.
-
Download and install the Okta Verify app on your preferred mobile device.
-
STOP HERE and switch to a computer
Setting up Okta Verify options through the Okta dashboard
-
Log into the Okta Dashboard at https://nshe-scs.okta.com.
-
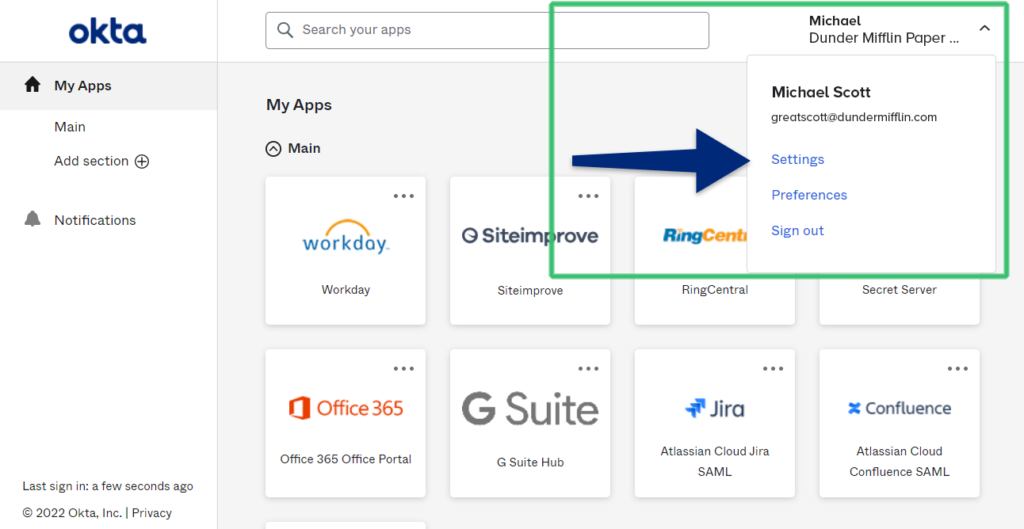
Open your user settings by clicking on your name in the upper right corner, and then choosing Settings from the flyout menu.
-
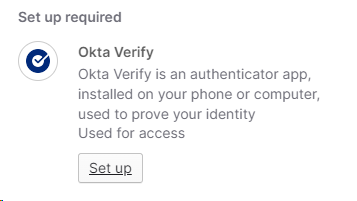
From the Settings page scroll to the bottom of the profile page to find the Security Methods section. Look for the Okta Verify option and click the corresponding Set up or Set up Another button.

-
You will be prompted to authenticate to verify it is you making the changes. After that you will see the image below. Click Set up to proceed.
-
Okta will show you some instructions to follow that will use the Okta Verify app that you installed on your mobile device earlier. Switch back to your mobile device for the rest of the process.
Finalizing Okta Verify setup
-
On your mobile device open the Okta Verify app, and click the + button in the upper right corner to add a new account. Tap “Add Account” to get started.
-
Okta Verify will prompt you to “Allow Camera Access and Push Notifications”. Both permissions are important for the app to function properly. When prompted, tap “Allow” or “Ok” to authorize Okta the appropriate device permissions.
-
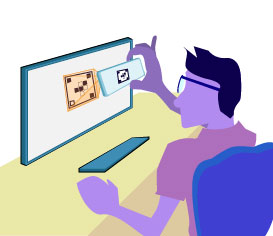
The app will then provide a scanning interface so that you can scan the code on your computer screen.
-
Point your phone’s camera at the QR code on your screen so that the code is centered in your phone’s scanning interface.
-
Once the QR code has been scanned by your phone, tap “Done” to confirm your MFA enrollment.
-
Your device and Okta Verify will be activated for MFA. You should receive an email from Okta confirming that you have enrolled in multi-factor authentication.